Legacy Data

Legacy data refers to valuable information stored in outdated ERP systems, such as Dynamics NAV, Dynamics GP (Great Plains), Dynamics SL, or QuickBooks, that are no longer actively used or maintained by the company, but are retained for historical analysis. Migrating this data to Dynamics 365 Business Central and Power BI offers significant benefits. It enhances data accessibility, enabling more informed decision-making and strategic planning. Additionally, it simplifies and reduces the costs and complexities of maintaining obsolete systems.
Utilizing legacy data in Dynamics 365 Business Central allows for comprehensive year-over-year comparisons and trend analysis, providing valuable insights into business performance and helping to identify growth opportunities and areas for improvement. This integration ensures that historical data contributes to a cohesive and forward-looking business strategy, transforming past data into a powerful tool for future success.
To successfully import Legacy Data into Dynamics 365 Business Central, the process can be divided into two key steps:
Import Data using Configuration Packages: This step involves importing the Legacy Data into Dynamics 365 Business Central utilizing standard Configuration Packages.
Approve Legacy Data: Once the data has been imported, the next crucial step is to review and approve the Legacy Data.
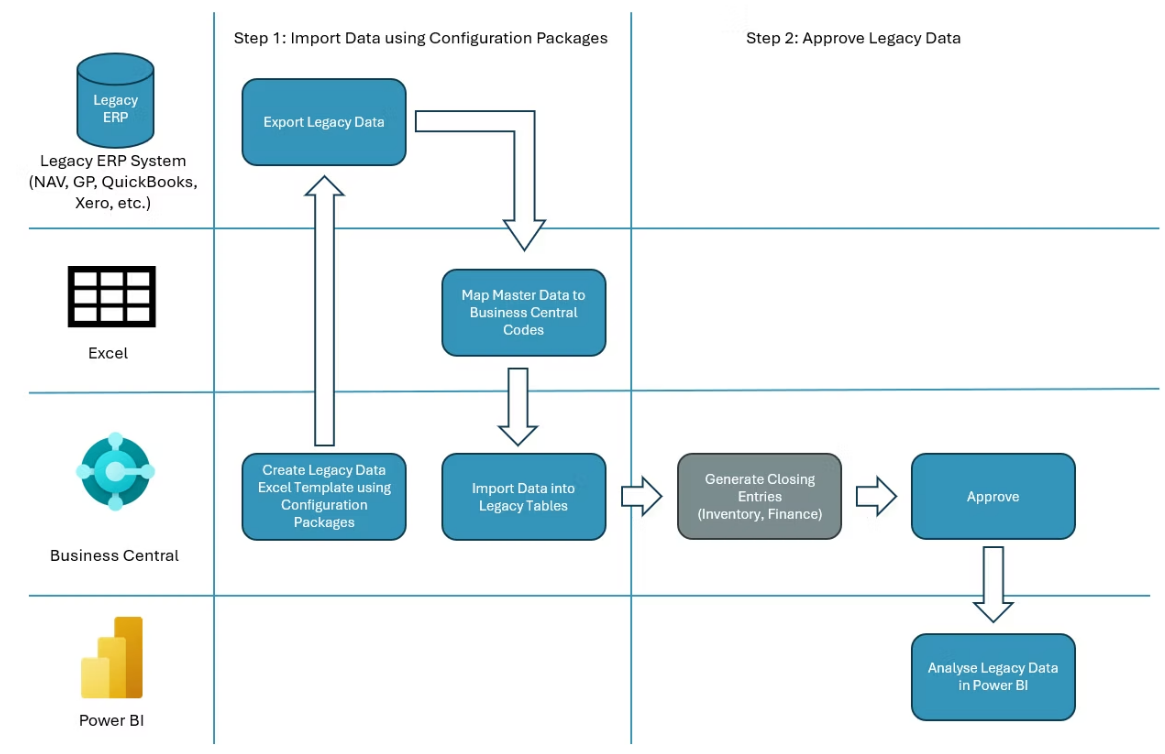
Step 1: Import Data using Configuration Packages
Prerequisite: Please make sure you have installed the Insights Connector for Power BI App.
1. Sign in to Business Central and open the Insights Connector for Power BI App.
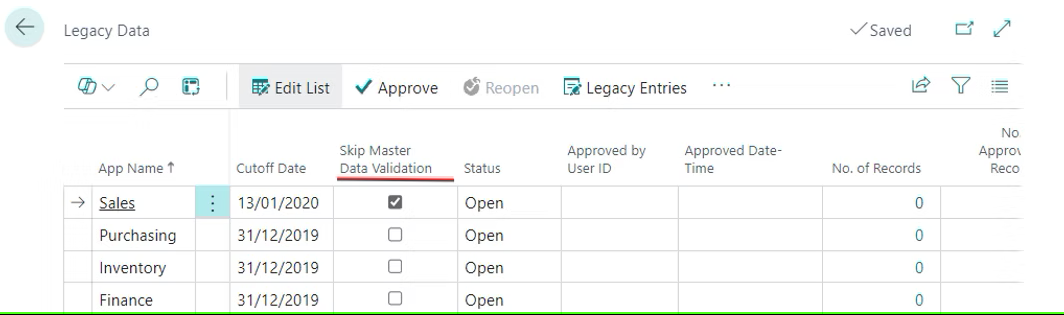
2. Open Legacy Data page.
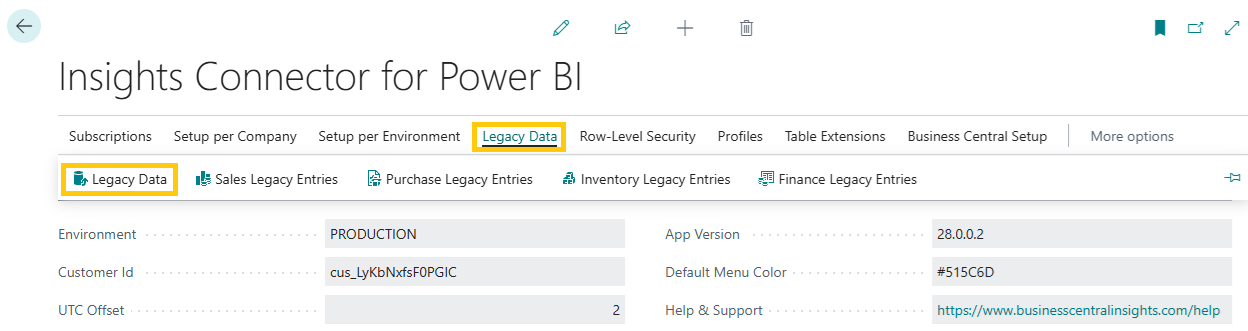
We support the import of legacy data for Sales, Purchasing, Inventory, and Finance.
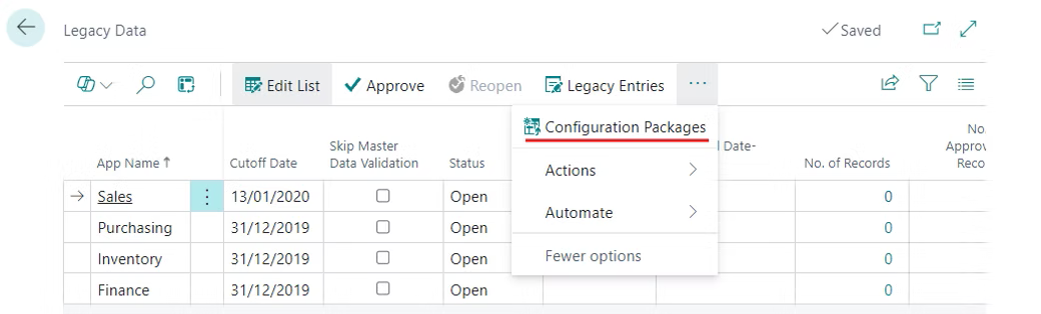
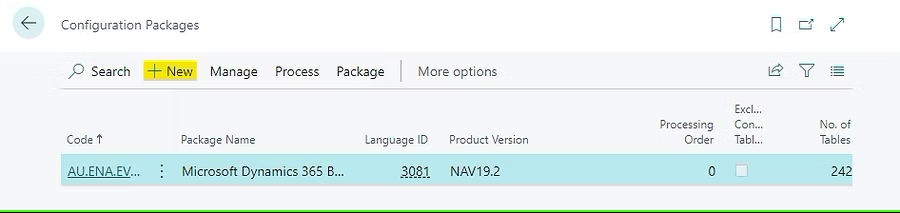
The first step in this process is to use Configuration Packages. To begin, navigate to the menu and open Configuration Packages.
Click New to create a new Configuration Package
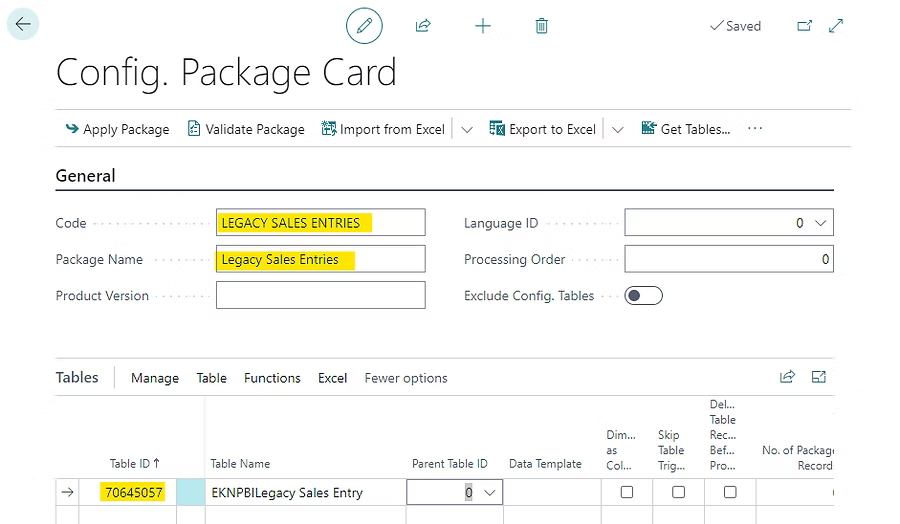
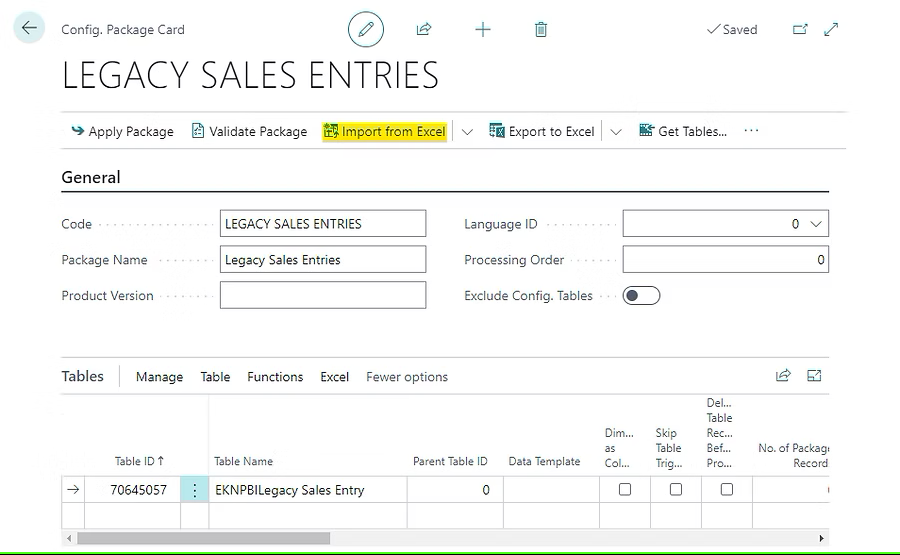
Type in the Configuration Package Code and Package Name.
Input the Table ID for the legacy data you wish to import in the configuration package lines:
Sales Legacy Data: Input Table ID 70645057 (Page ID 70645113).
Purchasing Legacy Data: Input Table ID 70645036 (Page ID 70645079).
Inventory Legacy Data: Input Table ID 70645050 (Page ID 70645081).
Finance Legacy Data: Input Table ID 70645065 (Page ID 70645085).
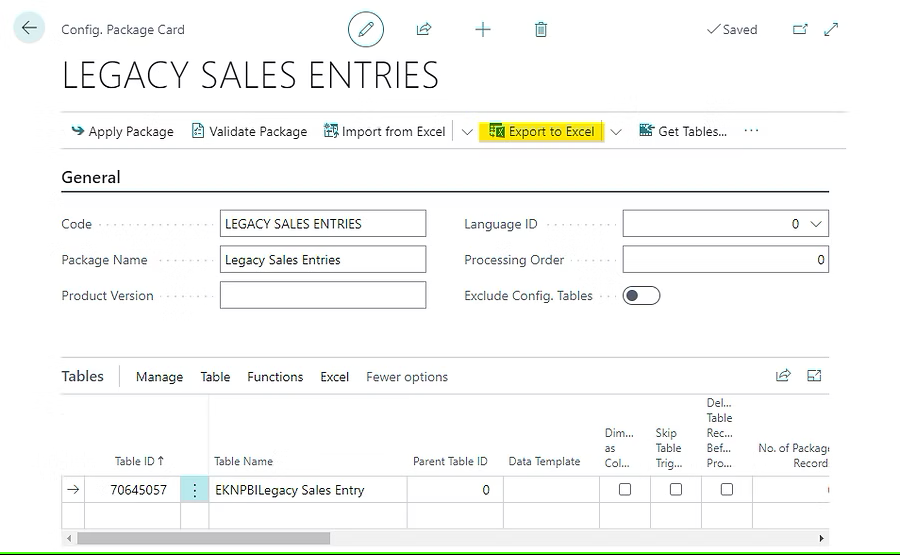
Choose "Export to Excel" and save the Excel template file. Please use this file to enter your legacy transactions.
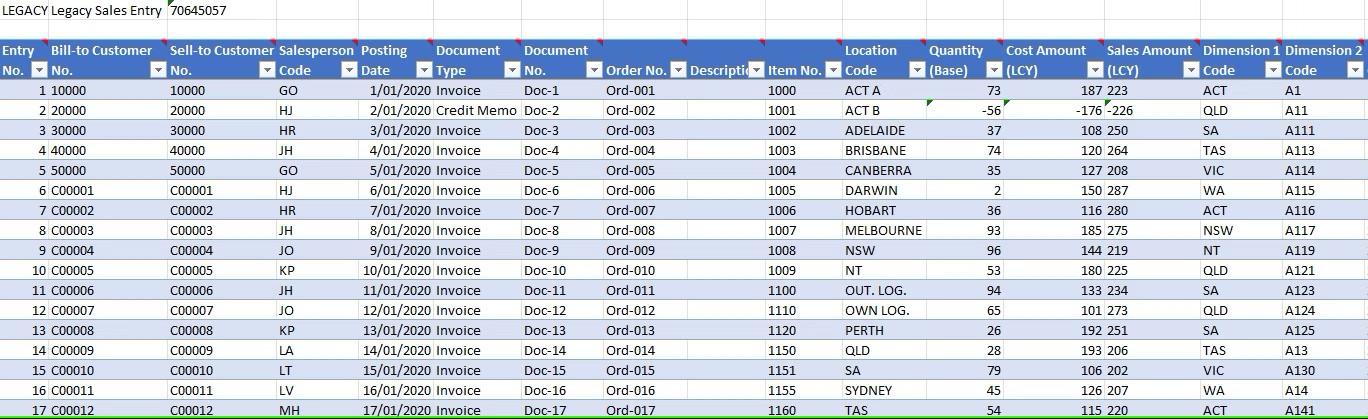
Fill the Excel file with legacy data. Do not modify the column structure.
Below are the data validation rules that must be followed:
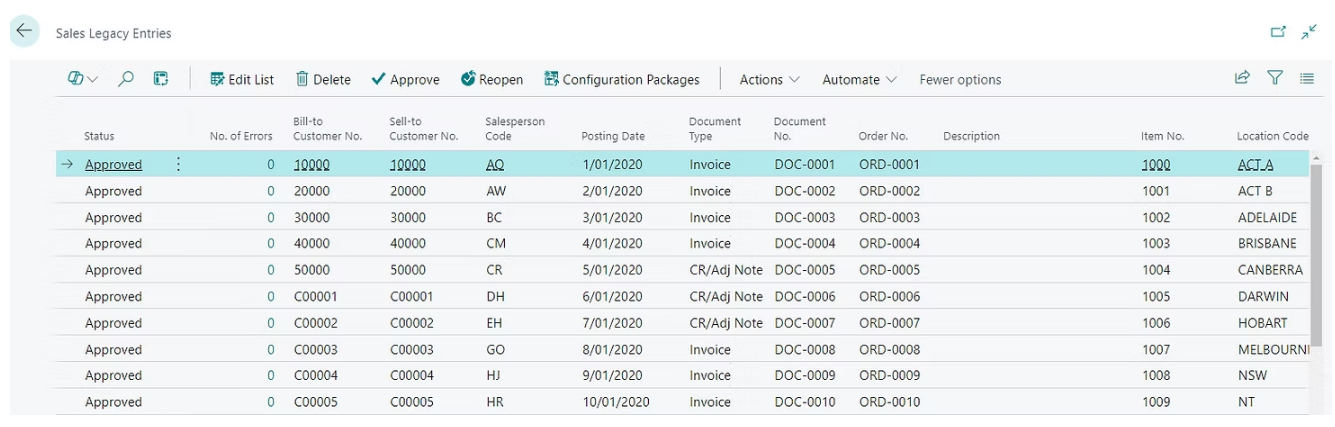
Sales Legacy Data
Bill-to Customer No. (mandatory)
Sell-to Customer No. (mandatory)
Posting Date (mandatory)
Document Type (mandatory)
Quantity (Base) (mandatory)
Sign: When the Document Type is Credit Memo, the 'Sales Amount (LCY)', 'Cost Amount (LCY)', and 'Quantity (Base)' must be recorded as negative values.
Purchase Legacy Data
Pay-to Vendor No. (mandatory)
Buy-from Vendor No. (mandatory)
Posting Date (mandatory)
Document Type (mandatory)
Quantity (Base) (mandatory)
Sign: When the Document Type is Credit Memo, the 'Purchase Amount (LCY), 'Cost Amount (LCY)', and 'Quantity (Base)' must be recorded as negative values.
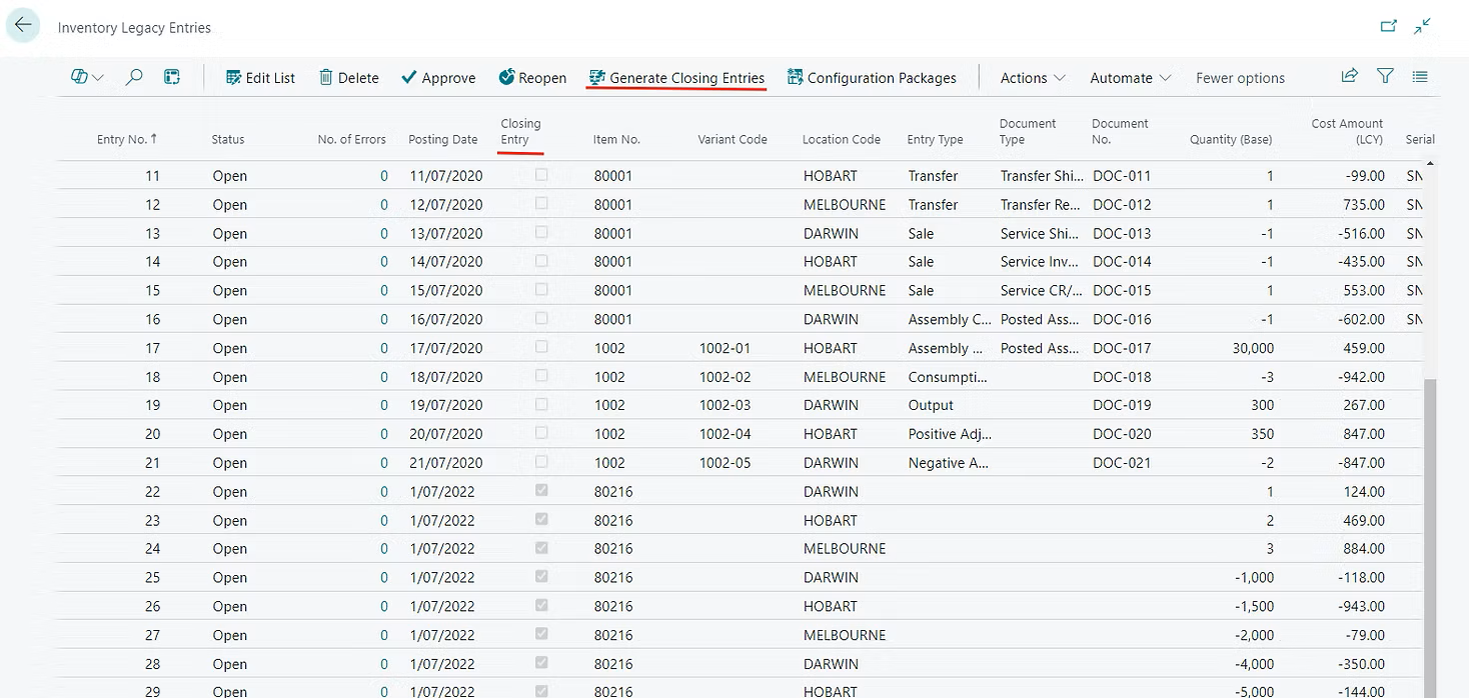
Inventory Legacy Data
Item No. (mandatory)
Posting Date (mandatory)
Sign:
When the inventory transaction is inbound (e.g., Purchase Invoice, Positive Adjustment, Output, etc.), both the 'Cost Amount (LCY)' and 'Quantity (Base)' must be recorded as positive values.
When the inventory transaction is outbound (e.g., Sales Invoice, Negative Adjustment, Consumption, etc.), both the 'Cost Amount (LCY)' and 'Quantity (Base)' must be recorded as negative values.
Finance Legacy Data
G/L Account No. (mandatory)
Posting Date (mandatory)
Amount (LCY) (mandatory)
Specific columns:
Entry No. - this should be a sequential and unique number, for example, 1, 2, 3, etc.
Status - leave this column blank.
Master Data
Please note that legacy master data, such as Customers, Vendors, Items, Salespeople, Locations, G/L Accounts or Dimensions, must already exist in Business Central. If you need to import master data that does not currently exist in Business Central, you can select "Skip Master Data Validation" on the Legacy Data page.
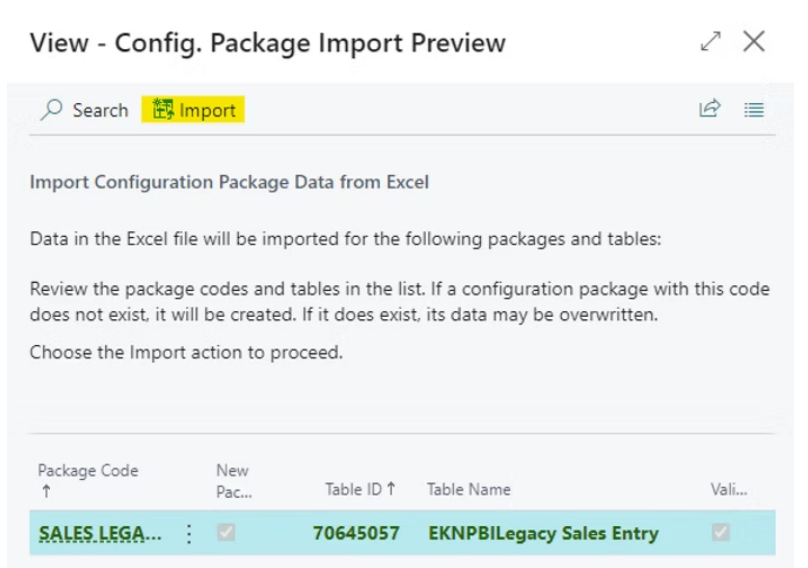
Import the Excel file which you have prepared in the previous step, by selecting the “Import from Excel”.
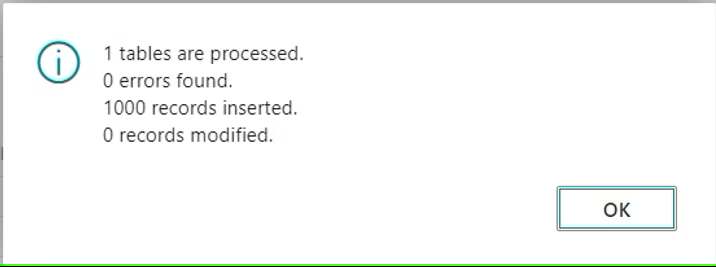
Select Import.
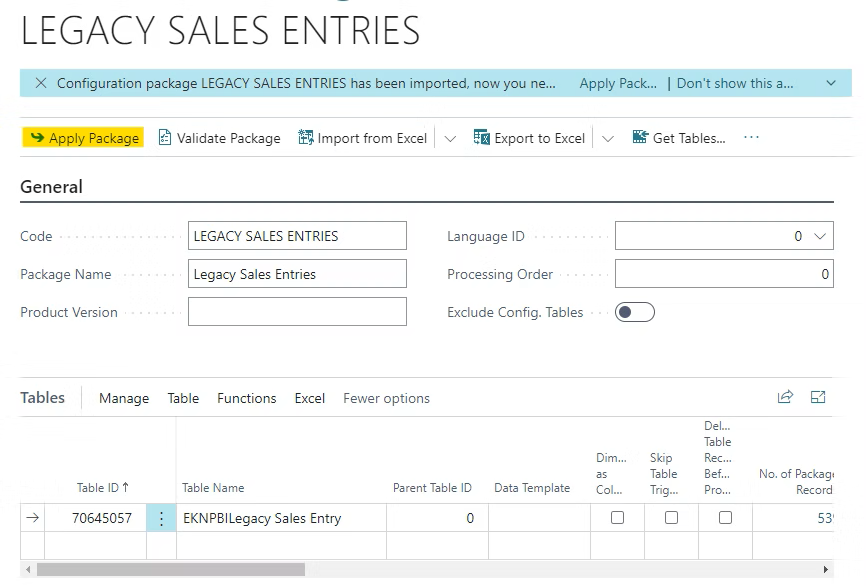
Select Apply Package. This action will import data into the legacy tables.
Step 2: Approve Legacy Data
The final and crucial step in this process is to carefully review and approve the imported legacy data. By approving the data, you are ensuring its accuracy and reliability before it becomes part of the Power BI reporting, enabling you to make informed decisions based on trustworthy information.
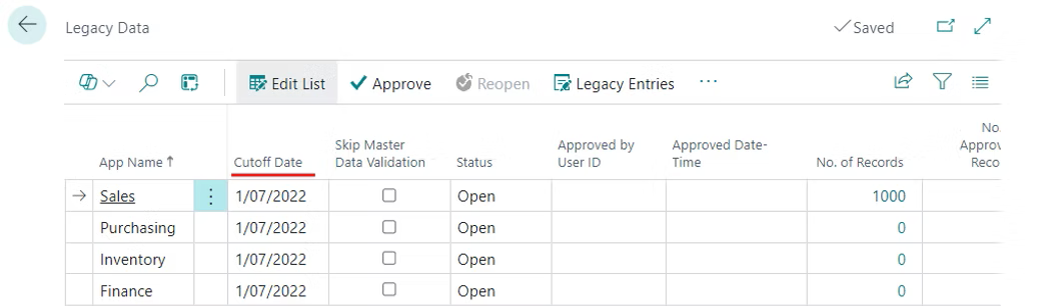
Open Legacy Data page from the Connector app.
Enter the Cut-off Date.
The cut-off date is a crucial element in ERP data migration projects, marking the official point at which data in the legacy system is locked for migration. This ensures the integrity and accuracy of the data being transferred to the new system. The cut-off date indicates the final date for legacy entries, after which no further entries can be posted in the legacy system.
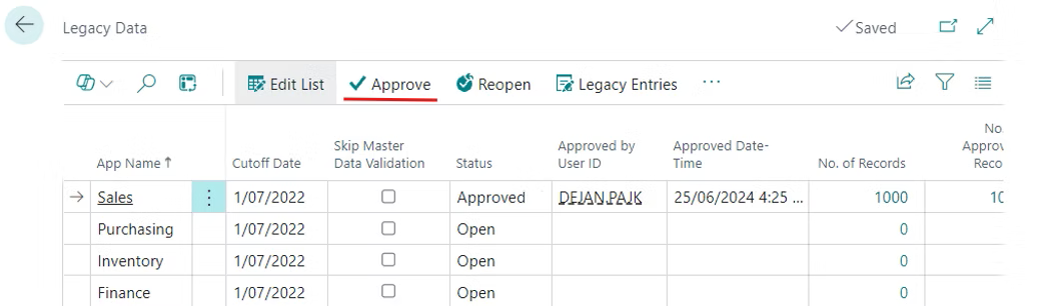
Select Approve.
Note that only approved legacy data will be imported into Power BI.
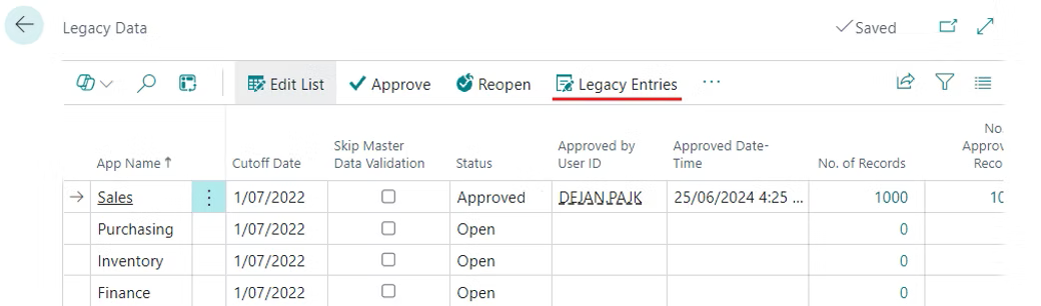
Click on the Legacy Entries action to review the imported data.
Generate Closing Entries
When importing inventory or finance legacy entries, the total ending balance must equal zero. This requirement ensures that legacy entries, which are appended to standard tables in Power BI (such as G/L Entry), do not increase the ending balances.
You can prepare the data in Excel to ensure the balances equal zero. To automate this process, we created a "Generate Closing Entries" function. This function automatically closes all entries and generates the necessary closing entries. It is available on the inventory and finance legacy entries page.
After completing the import, please proceed to initiate a manual data refresh in your Power BI Workspace.
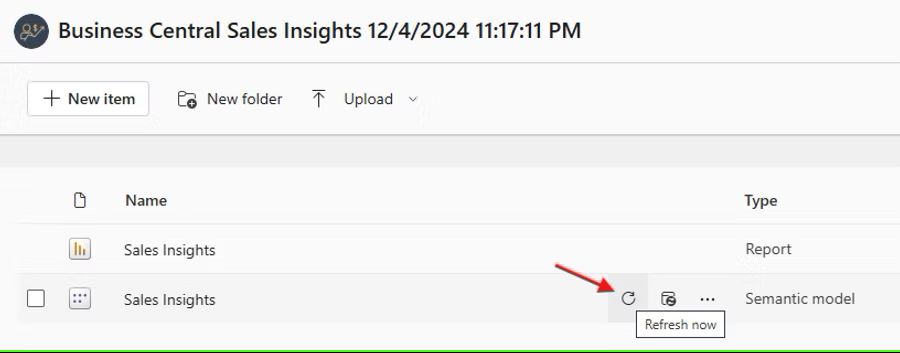
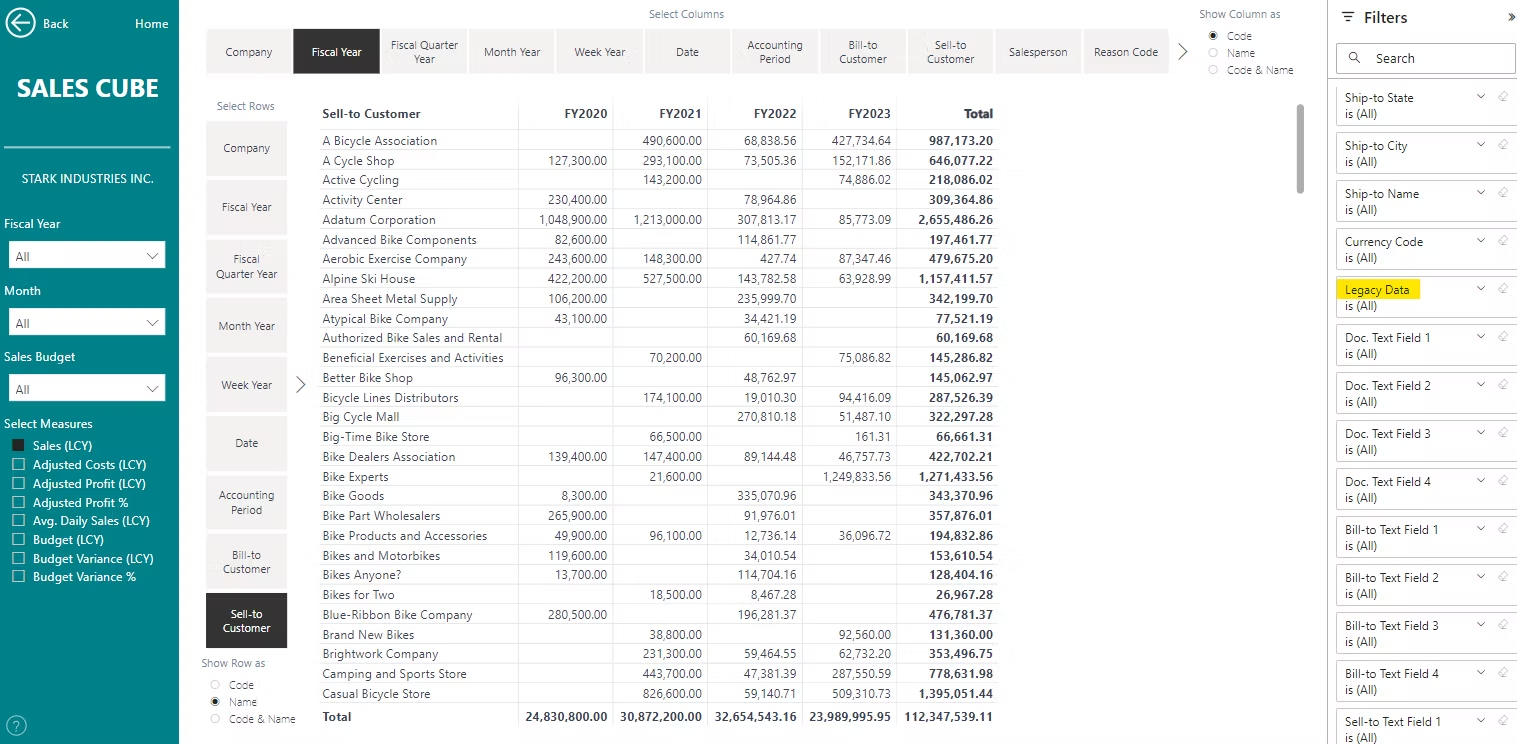
The legacy data in Power BI will be seamlessly appended to the original fact tables, such as Customer Ledger Entry and Value Entry. Consequently, the legacy data will automatically appear in all relevant reports. Users will have the option to filter out the legacy data using date filters or a 'Legacy Data' yes/no filter in the filters pane.