Installation (Cloud)

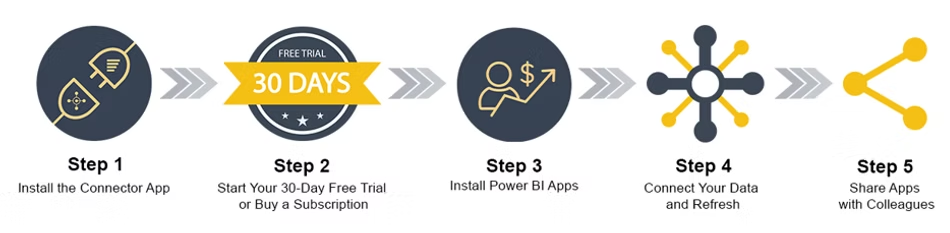
Our apps can be installed in five simple steps!
If you have already installed the apps and wish to upgrade to the latest version, please refer to the instructions provided here.
This installation manual is for Business Central Cloud. For the on-premises version of Business Central, please refer to these instructions.
We value innovation and respect intellectual property rights. Please review our Notice of Intellectual Property Rights to understand how we protect our innovations and how you can collaborate with us.
Step 1: Install the Connector App
To install or uninstall apps from AppSource, you need the appropriate permissions. Specifically, you must either be a member of the D365 Extension MGT user group or possess the EXTEND. MGT. - ADMIN permission set. For more details, please refer to the official documentation.
If you do not have the required authorization, please contact your Business Central administrator or Microsoft partner.
The Power BI Insights Connector App is designed according to Microsoft standards and can be uninstalled at any time from the "Extensions Management" page in Business Central.
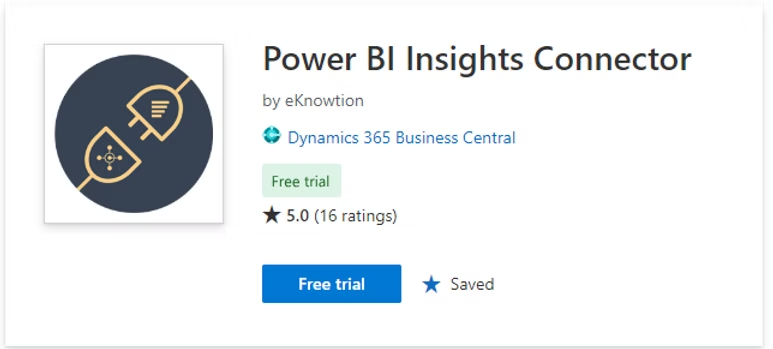
1. Open the Power BI Insights Connector in AppSource.
2. Choose the Free trial button
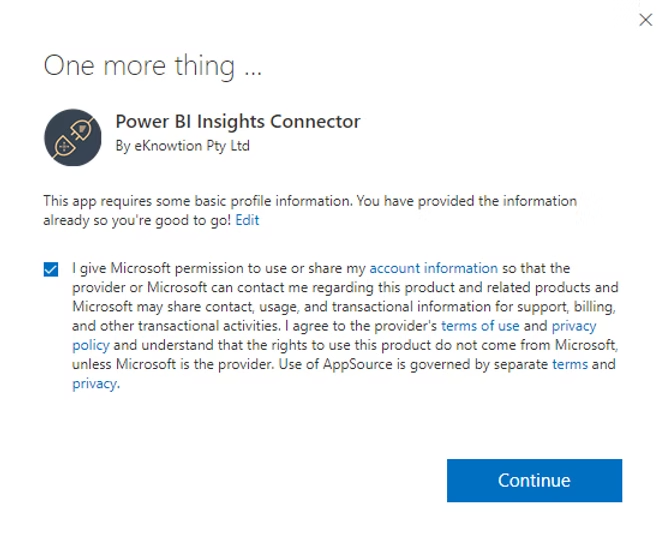
3. Enter your name and company information and click Continue.
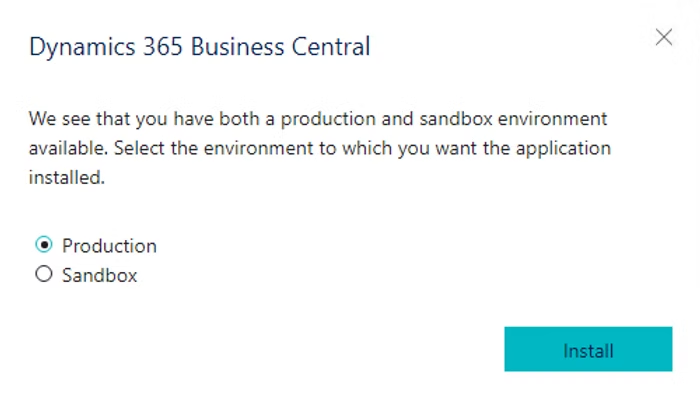
4. Choose the environment and select Install.
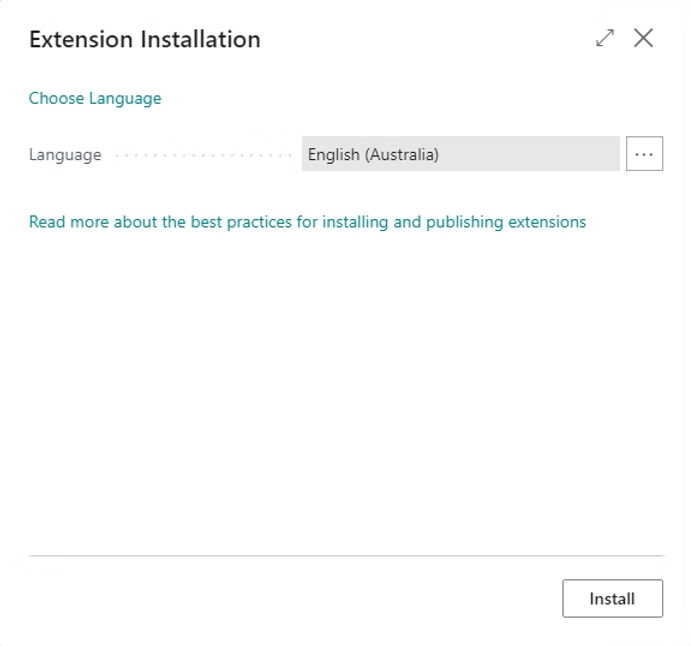
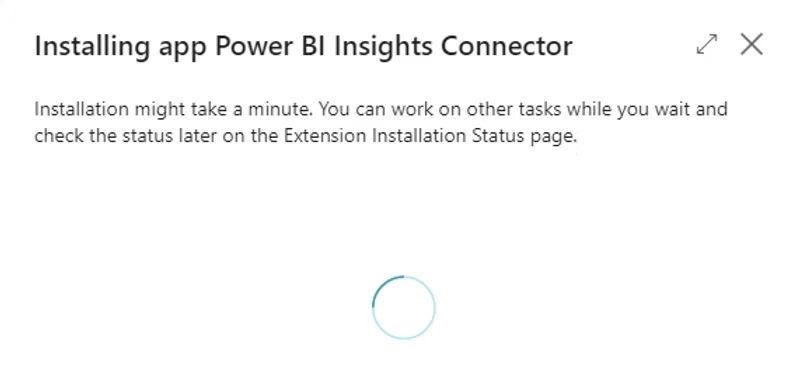
5. Choose Language and click Install. It can take a few minutes for the installation to be completed.
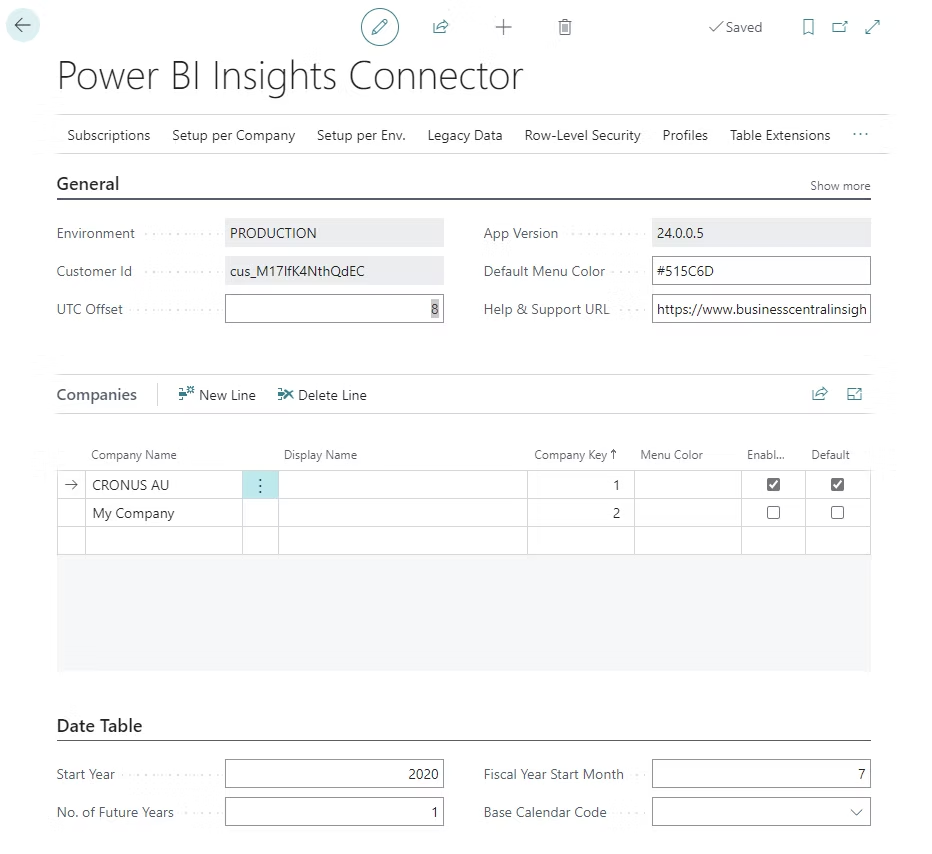
6. Open the Power BI Insights Connector App.
If you''re having trouble accessing the app, try checking our Connector Installation Troubleshooting article.
Step 2: Start your free trial
To activate your 30-day trial, please refer to the instructions provided here.
Step 3: Install Power BI Apps
1. Open the Power BI app in AppSource.
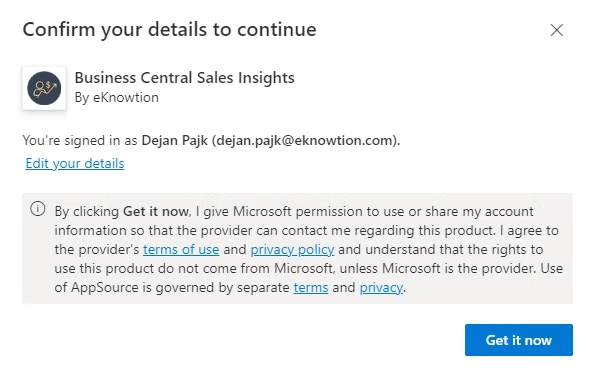
2. Click on the Power BI app you would like to install and click Get it now.
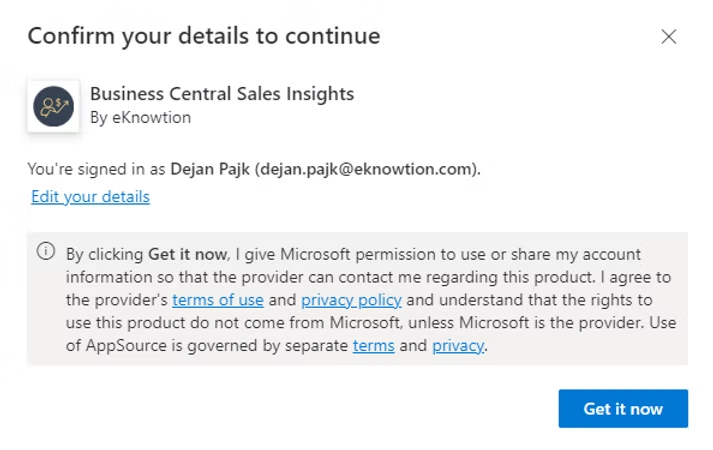
3. Confirm your details and click Get it now.
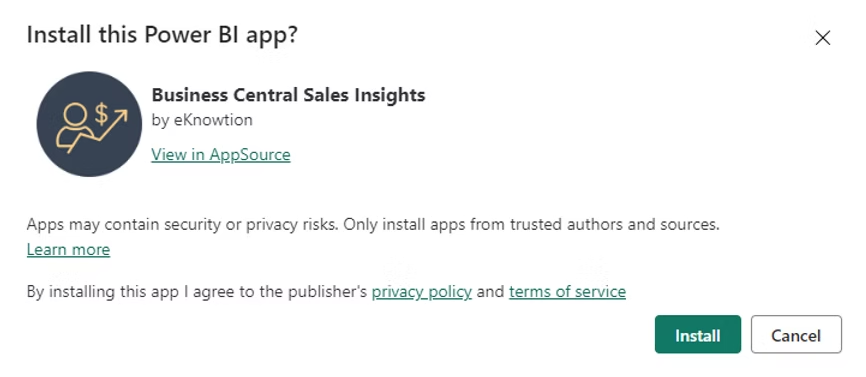
4. Click Install.
Step 4: Connect your data and refresh
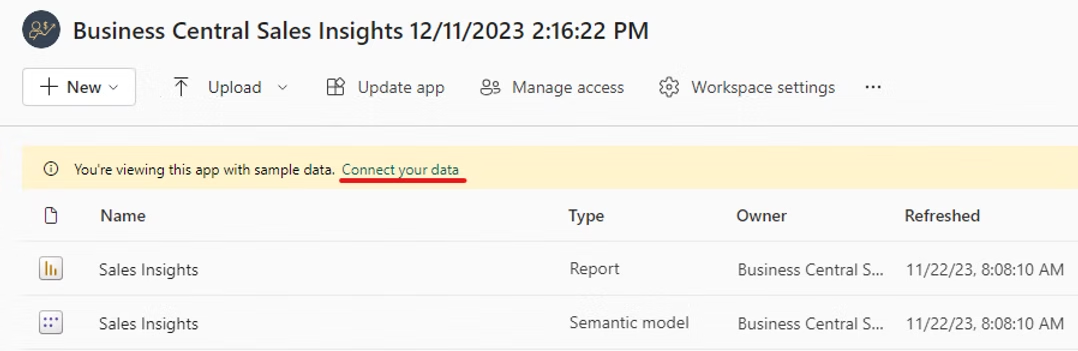
Each app will install its own Power BI app workspace. For example, the 'Business Central Sales Insights' app will have a dedicated 'Business Central Sales Insights' workspace.
1. Sign in to Power BI.
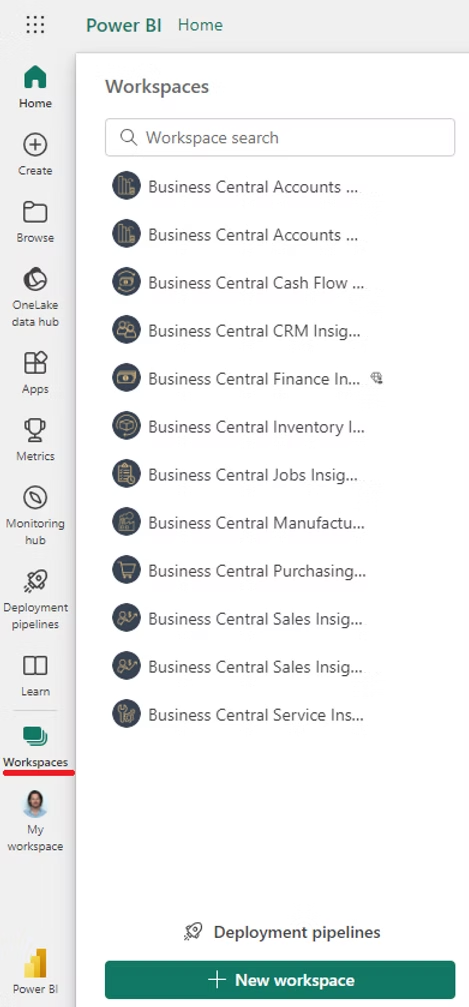
2. Select Workspaces menu and open the workspace.
3. Choose Connect your data.
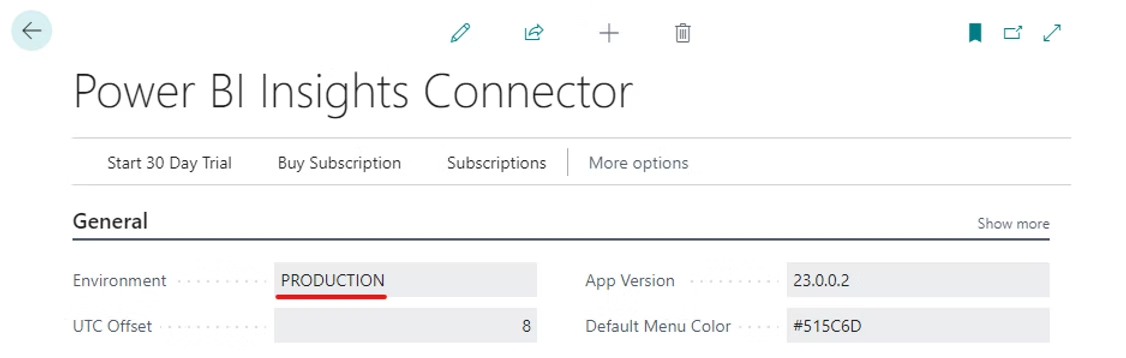
4. Get the Environment parameter.
You can find the Environment parameter in the Power BI Insights Connector app.
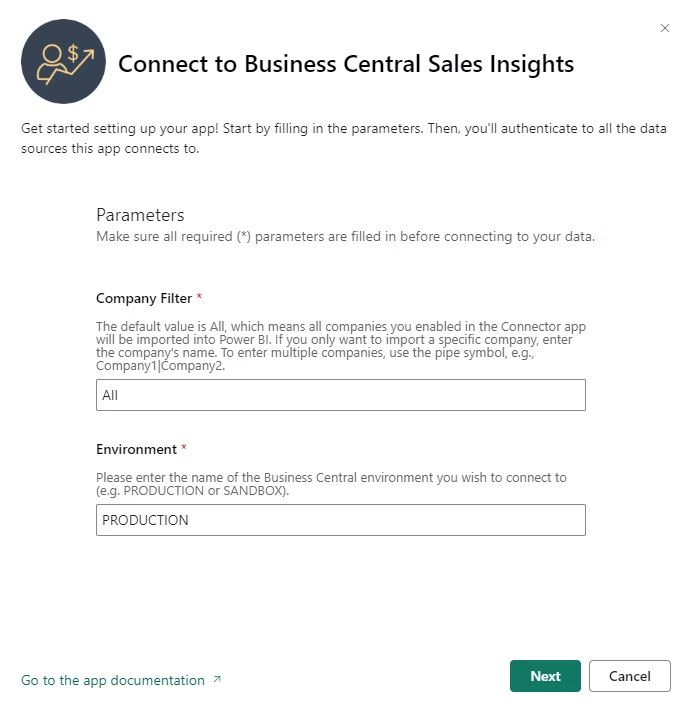
5. Fill in the parameters.
Enter the Environment parameter as UPPERCASE.
It is recommended that you leave the Company Filter value as 'All' to ensure that all the companies you enabled in the Connector app are imported into Power BI.
6. Select the OAuth2 authentication method and click Sign in and connect.
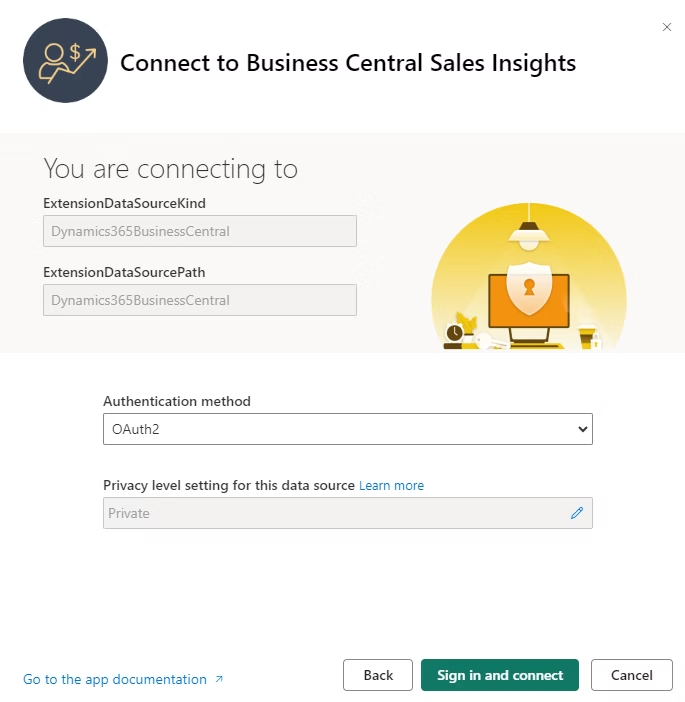
7. Sign in with the account that has dedicated permissions to access data in Dynamics 365 Business Central system.
This account will be used by the Power BI service to connect to Business Central when refreshing its data.
To assign User permissions in Business Central, follow these steps.
8. After you’ve successfully signed in with the Business Central user account, the dataset refresh will start automatically! Happy days!
To review data refresh times and potential refresh errors click here. If the error message is:
‘The key didn't match any rows in the table', then click here.
‘Time out expired’, then click here.
'The Credentials Provided are Invalid', then click here.
If the issue persists, please arrange a call with us, and we’ll work together to investigate and resolve it.
9. Schedule automatic data refresh
By default, data is refreshed once a day (at midnight). If you would like to set specific data refresh times, please follow the instructions provided here. With a Power BI Pro license, you can refresh your data up to 8 times per day.
10. Enable Azure Maps
If you encounter the error message "Azure Maps are not enabled for your organization," please refer to the following troubleshooting article.
Step 5: Share Apps with colleagues
To share Power BI apps with your colleagues, please refer to the instructions provided here.