Row-Level Security (RLS)

One of the most powerful features of Power BI is Row-Level Security (RLS). This feature allows you to have a single report and dataset and still apply different security rules for each user. Row-level security allows companies, for example, to set up salespeople to only see their own sales data or set up project managers to view only their particular projects/jobs.
There are two steps required to set up row-level security:
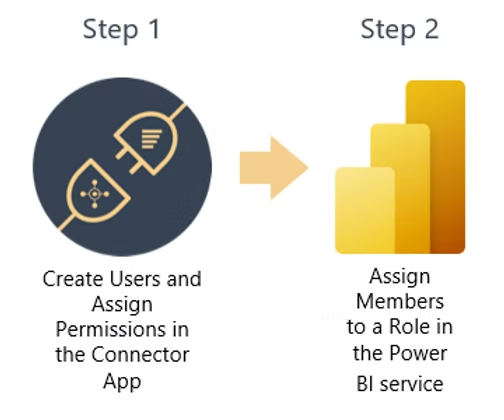
Step 1: Create Users and Assign Permissions in the Connector App
Prerequisite: Please make sure you have installed the Insights Connector for Power BI App.
1. In Dynamics 365 Business Central, open the Insights Connector for Power BI App.
Select Row-Level Security > Power BI Users.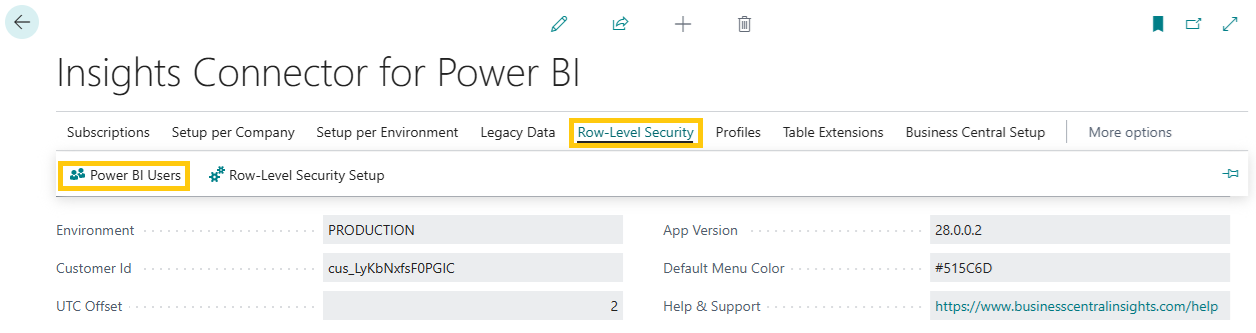
2. Add Power BI Users for which you would like to activate row-level security.
To add a new user, select + New action.

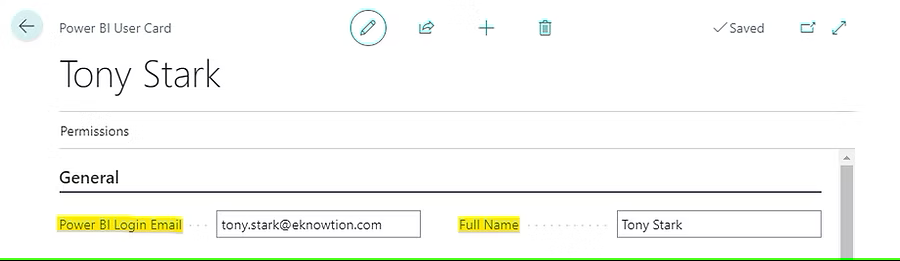
The Power BI User Card will open.
In the Power BI Login Email field, enter the user’s email account with which the user signs into Microsoft Power BI, also known as the User Principal Name (UPN).
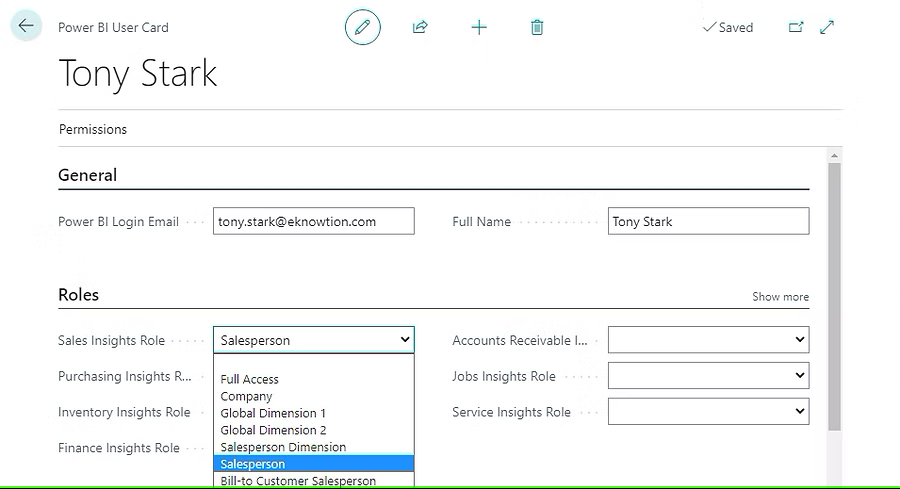
3. Choose Roles for each app.
Each app has a predefined set of Roles. For example, to select a Salesperson role in the Sales Insights app, select Salesperson in the Sales Insights Role dropdown field. In this example, only Salesperson permissions will be activated in the Sales Insights Power BI app.
If the security Role you require is not on the list, let us know, and we will add it in the next version.
For each user you can only select one role per app.
IMPORTANT: You must assign roles in two places:
in Business Central (as mentioned above) and
in the Power BI service (as described below in Step 2).
4. Add Permissions the Power BI Users will have in the Power BI app.
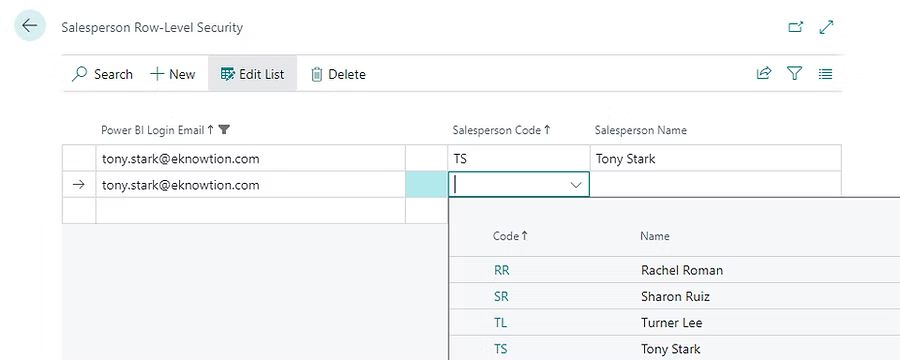
For example, to add Salesperson permissions, select Permissions > Salesperson.
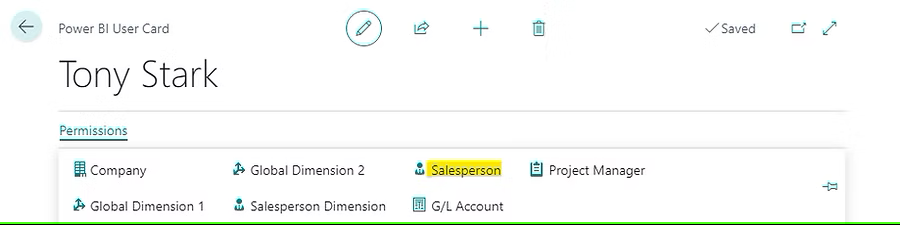
Enter the Salespeople that the Power BI user will be able to see in Power BI.
Repeat the same steps to assign other permissions for other users, such as Company, Global Dimension 1, or Project Manager. As stated above, each user can only have one active role per app.
Please note the Permissions are company specific (with the exception of Company permission). You will need to set permissions for each company separately.
Step 2: Assign Members to a Role in the Power BI service
IMPORTANT: Please ensure you have configured row-level security in the Insights Connector for Power BI App as described above in Step 1. You don’t need to configure row-level security described in Step 1 if a user has Full Access permissions.
To manage Power BI security, complete the following steps:
1. Sign into Power BI.
2. Open the Workspace and select Semantic model > Security.
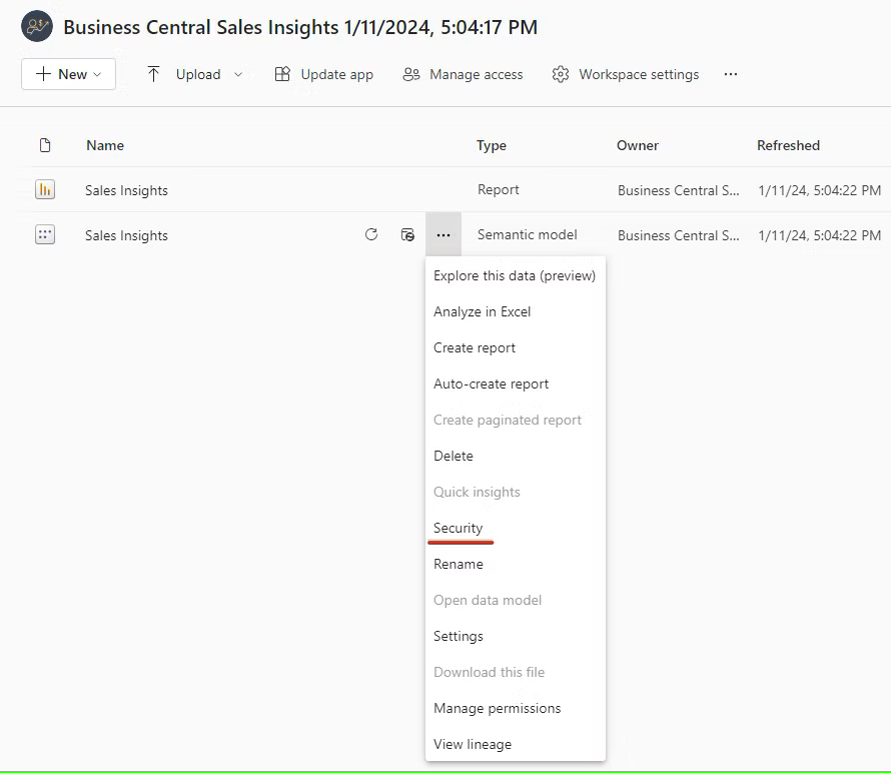
Security will take you to the Role-Level Security page, where you add members to a role you have selected in the Insights Connector for Power BI app in Step 1.
Only the owners of the dataset will see the Security option.
3. Add members
In the Power BI service, you can add a member to the role by typing in the email address or name of the user or security group. You can also add members external to your organization.
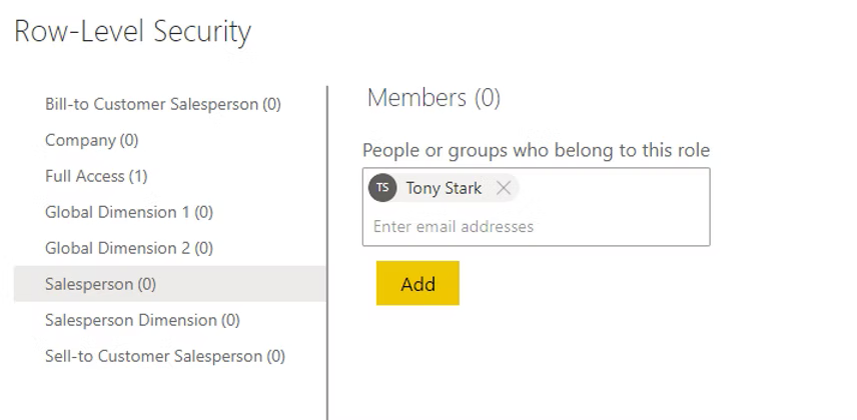
You can also see how many members are part of the role by the number in parentheses next to the role name or next to Members.
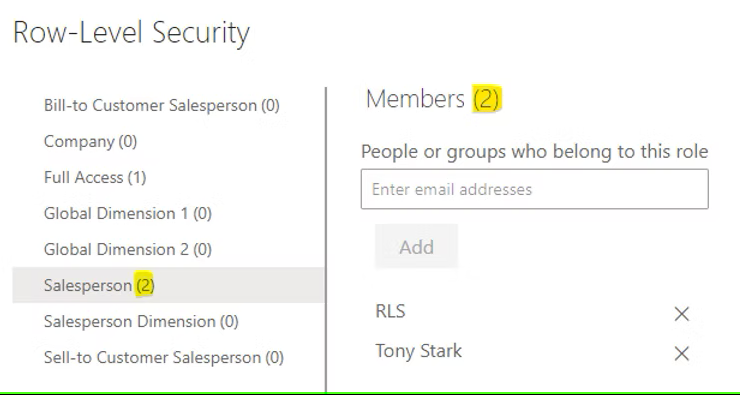
Each user can only be assigned to one role.
IMPORTANT: If you use workspaces to share the content with users, row-level security will not be automatically enforced. To enforce row-level security for users browsing content in a workspace, the user must have the Viewer role.
IMPORTANT: Row-level security is only applied to the fact/transactional/ledger entry tables (and not to all dimensional tables). For example, when you assign a Company row-level security to a user in the Sales Insights app, the user will only be able to see the sales transactions for the companies they have permission to access; however, they will still be able to see the customers or items (and other dimension tables) from all companies.