Share the Power BI Workspace

1. Sign in to Power BI.
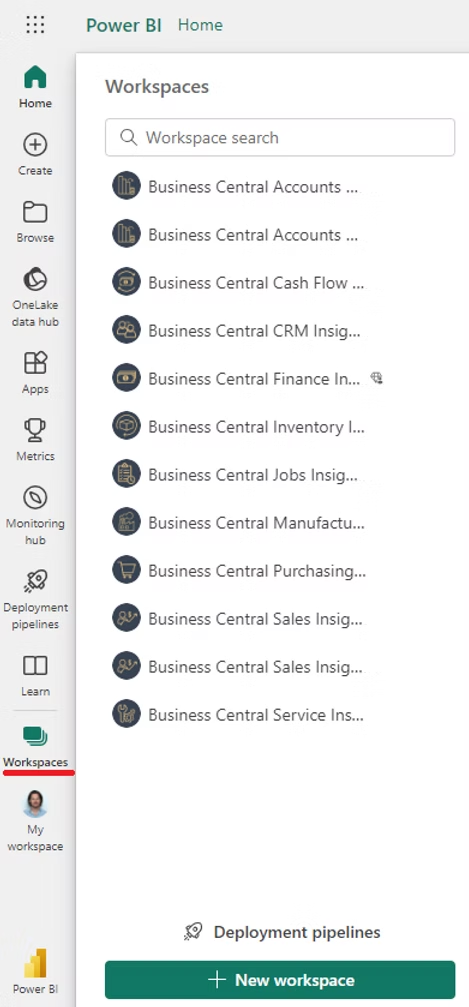
2. Select Workspaces menu and open the workspace you require.
3. Select Manage access.
4. Add users or user groups that can access the workspace.

5. Select Role.
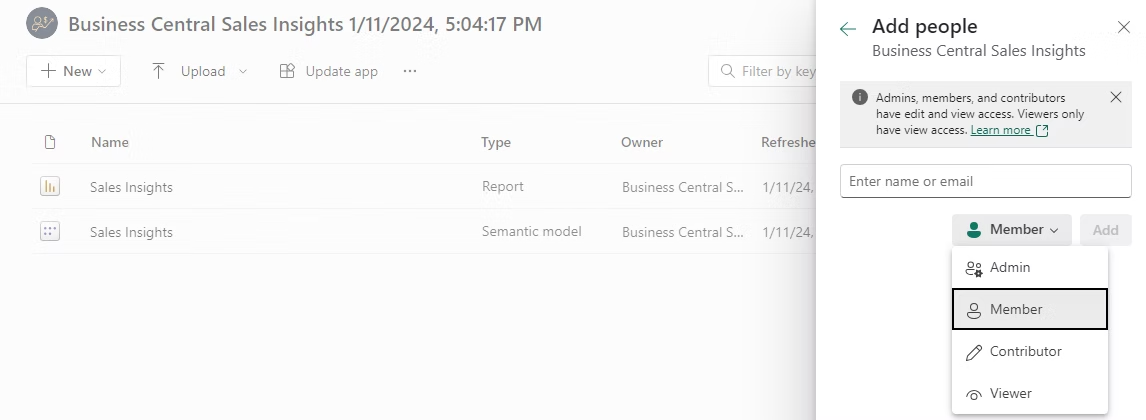
Recommendation: Only Power BI administrators should be assigned 'Admin' or 'Member' roles. In the workspace, administrators are responsible for configuring automatic refresh times and managing access to the Power BI apps. End users should be assigned the 'Viewer' role, as they only need access to Power BI reports. For more information about Power BI workspace roles, refer to this link.
6. Setup Row-Level Security (RLS) - This step is applicable only if you have assigned the 'Viewer' role in the previous step.
If the user can access all the data in Power BI, all you need to do in this step is assign the user to a 'Full Access' role. See Step 2: Assign Members to a Role in the Power BI service.
If you would like to restrict data access for a particular user and implement row-level security (RLS), follow the instructions here.
We would love to offer you a free Row-Level Security session over Microsoft Teams where we can assist you to set this up and answer any questions you may have. Click this link to your session now.